How to install a rubber speed bump
Traffic accidents were rising fast on roadways, parking lots, crosswalks, etc., risking human lives. Reflective strips, pavement markings, and other traffic-management tools were used on roadways to reduce the vehicle’s speed, but it was straightforwardly ignored. Road bumps were introduced.
Road bumps are raised sections on the road or pedestrian crossing made of asphalt, concrete, recycled plastic, etc., slowing the traffic volume to improve pedestrian safety.
Likewise, rubber speed bumps are a perfect solution for traffic-engineering design as they work as effective traffic barriers at required locations.
They are fabricated from heavy-duty recycled rubber instead of a built-in bump in the road in asphalt concrete. They reduce speed limits for buses, cars, bicyclists, etc., resulting in decreased accidents by reckless driving.
Efficient design, lightweight, easy installation, and cost-effectiveness give rubber speed bumps an advantage over traditional speed bumps.
We will discuss some issues to consider when installing speed bumps.
Do you want to know more about this topic? We also have an article talking about speed bump standards and regulations.

Discover here our full range of Speed Bumps for Sale!
Benefits of rubber speed bumps
To determine if a speed bump is perfect for the roadways, crosswalks, etc., various important factors, rather than merely considering safety precautions from oncoming vehicles, need to be considered.
Some of the noteworthy benefits of these road bumps are mentioned hereunder:
- Hassle-free installation, removal, and portability: The rubber speed bump installations are hassle-free and, therefore, discourage the use of traditional raised sections. They are easily removed and portable to fix at any locality.
- Adherence to all road types: The most significant discomfort with the traditional raised section is that they do not harmonize with any road type. They require additional coatings on top to function better.
This is a problem for transportation engineers in designing economic roads. But the rubber speed bumps adjust with all types of roads and do not require special coatings on top.
- Amplified visibility: Poor construction of speed bumps causes accidents because they lack proper visibility.
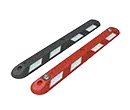
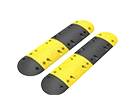
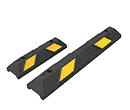
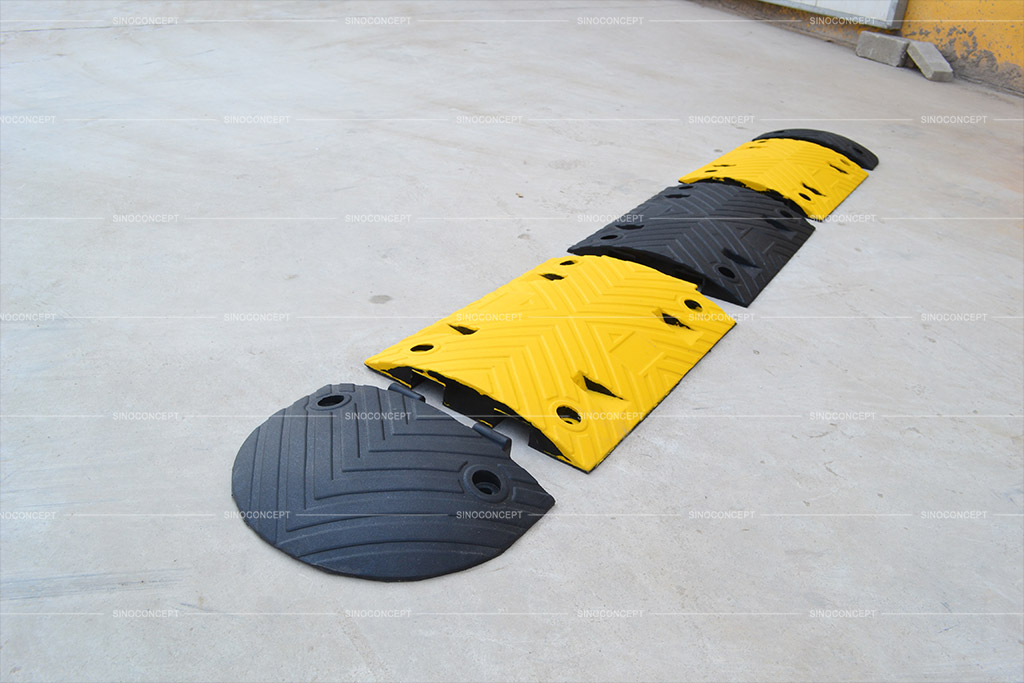
The rubber speed bumps have yellow and black stripes that enhance their visibility and improve traffic flow in work zones, residential areas, curbs, railroad crossings, school zones, etc.
They have red or yellow cat’s eyes or reflectors for additional visibility, while others have reflective glass beads.
Preferred roads for rubber speed bump installation
Different roads are built for various purposes depending on weather conditions, traffic load types, etc. The roads of varying natures have different compositions.
Therefore, it is necessary to understand the road’s nature and then decide whether rubber speed bump installation will be successful or not.
The following discussed are the composition and uses of various types of roads that help decide the necessity to install rubber speed bumps.
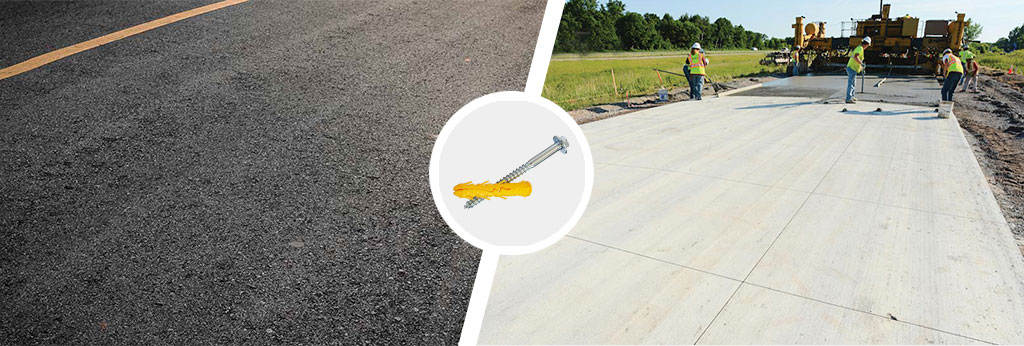
- Concrete roads are made of sub-grade, dry lean and concrete pavement, which is a very tough composition. Installing rubber speed bumps will be a boon for traffic speed control on this road.
- Asphalt roads: They are composed of earth embankment, soil and aggregate sub-base, sand cushion, and concrete pavement. Installing rubber speed bumps on such roads will benefit.
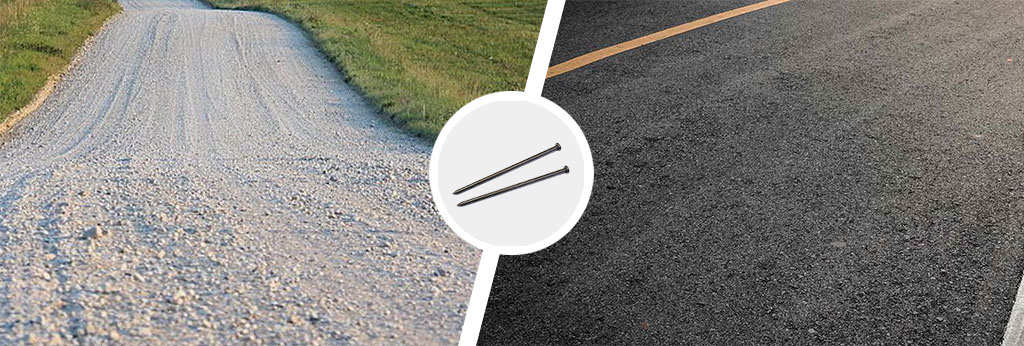
- Gravel roads: The road composition consists of well-compacted earth subgrade, geotextile fabric, and mixed gravel. The rubber speed bump installed here will be rigid in its position and serve longer.

You have already read a good part of this article, 👀
We've
got the impression that you like it. 🙂
👇🏻
IF YOU ARE LOOKING TO WORK DIRECTLY WITH A MANUFACTURER,
FEEL FREE TO CONTACT US. WE ARE VERY HAPPY TO HELP!
Location to install rubber speed bumps
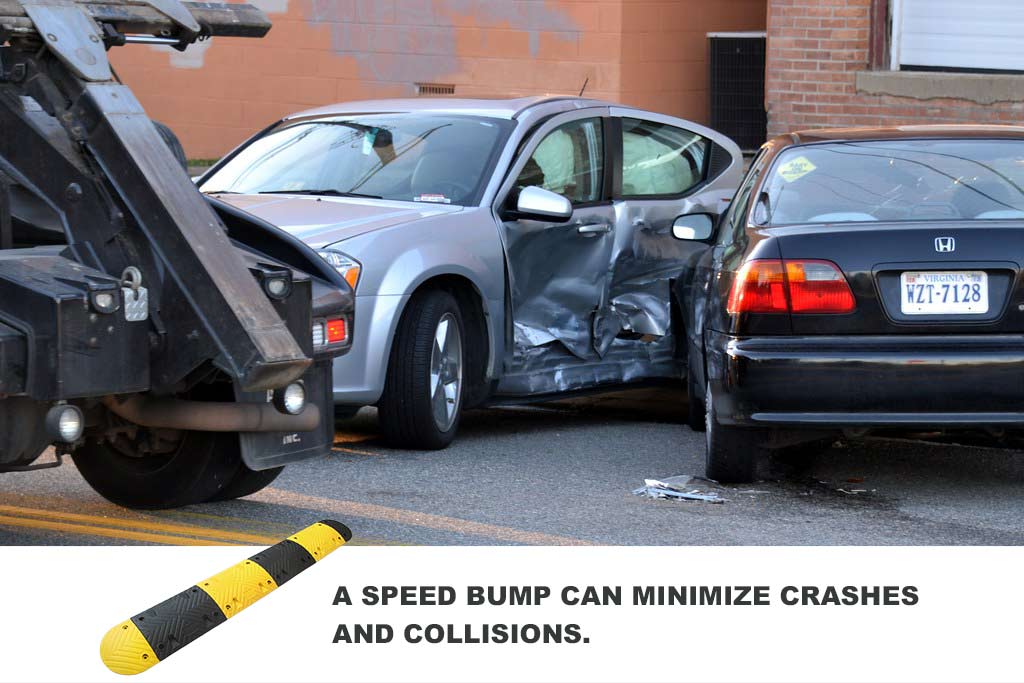
Rubber speed bumps are changing sides with traffic police enforcement for better traffic control. Since speed control is the basic function of speed breakers, they must be placed in areas of high pedestrian traffic, city streets, speeding highways, property owners’ locations, etc., to minimize crashes and collisions.
Using signposts along with the rubber speed bumps will enhance their visibility at night and minimise collision.
Following are some of the major areas preferred for installing rubber speed bumps:
- Parking space
- Alleys
- Intersection
- Cyclist lanes
- Roadways
- Sidewalks
- Fencing
- Crossings
- Traffic signs
- Residential Area
- Public works areas
- Traffic signals
- Roundabout
Who can install a rubber speed bump?
Although the installation method is straightforward, there are various factors to consider when installing rubber speed bumps. One should always hire an expert for it or consult a road authority official to understand the need fully.
Following are some of the major factors to keep in mind while installing rubber speed bumps.
- The severity of the problem: It determines whether it is necessary to install the road bumps. This includes considering factors such as the number of driveways, curves, the closeness of houses to the street, etc.
- The decision of placement: If the road bumps are placed in the wrong locations, they can greatly reduce the traffic speed below normal and also slow down emergency vehicle response to an emergent situation in the worst case.
- Selection of suitable speed bump: If the traffic flow of cars is less than that of motorbikes in places like alleys, city streets, etc., it is suitable to install a rubber speed bump with grooves to pass the motorbikes easily. This will control the major traffic speed and enhance the workability of these speed bumps.

Tools and accessories for the installation of rubber speed bumps
There are various types of tools for different installation methods of a rubber speed bump. This is because different roads require different installation techniques to ensure the stability of these road bumps.
Here are various tools required for these road bumps:
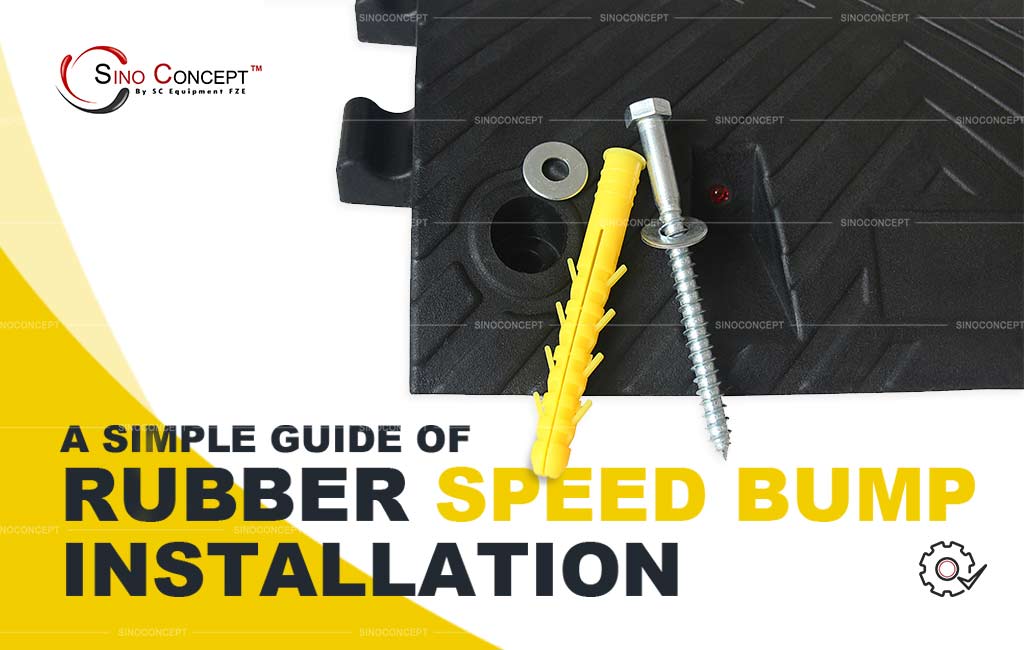
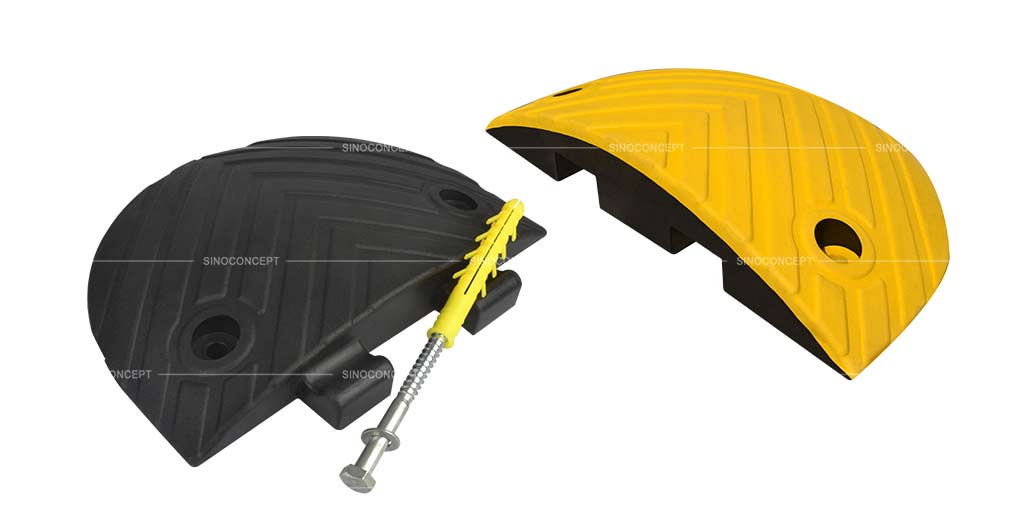
- For asphalt and concrete roads12.5 mm x 139.7 mm lag bolt for each hole (fasteners that connect material that bears intense load), 02 nos 12.5 mm washers each (distributes the load from bolt head over a larger area), 12.5 mm lag anchor (to reduce drilling time)High-speed hammer drill having 19 mm masonry impact wrench with 19 mm pocket trimming knife hammer.
- For asphalt and gravel, roads high-speed hammers drill having 12.5 mm masonry bitHammer12.5 mm dia Steel spikes (356 mm long for concrete and 457 mm for gravel)Activate epoxy resin (recommended for the gripping bond with road)
Procedure for installation of rubber speed bumps
Different composition of roads requires different installation techniques and tools for rubber speed bumps. This will ensure their proper and accurate anchorage on the road.
The rubber speed bumps are manufactured and supplied in sections that can be butted together to create a whole product. These sections are also beneficial to remove in case of snowfall or relocation to other places.
Keen care should be taken during its installation; otherwise, it can peel off from the roadway, thus becoming a danger for vehicular accidents.
Following are detailed methods for these speed bumps for various road types:
Lag bolt method: for asphalt or concrete roads
See below:
- Ensure the surface is clean from dirt.
- Loosely place the end caps and bump sections on the location area and mark the hole’s location with pre-drilled holes.
- Make sure the units are straight and square. Using a chalk line or straight edge will be beneficial.
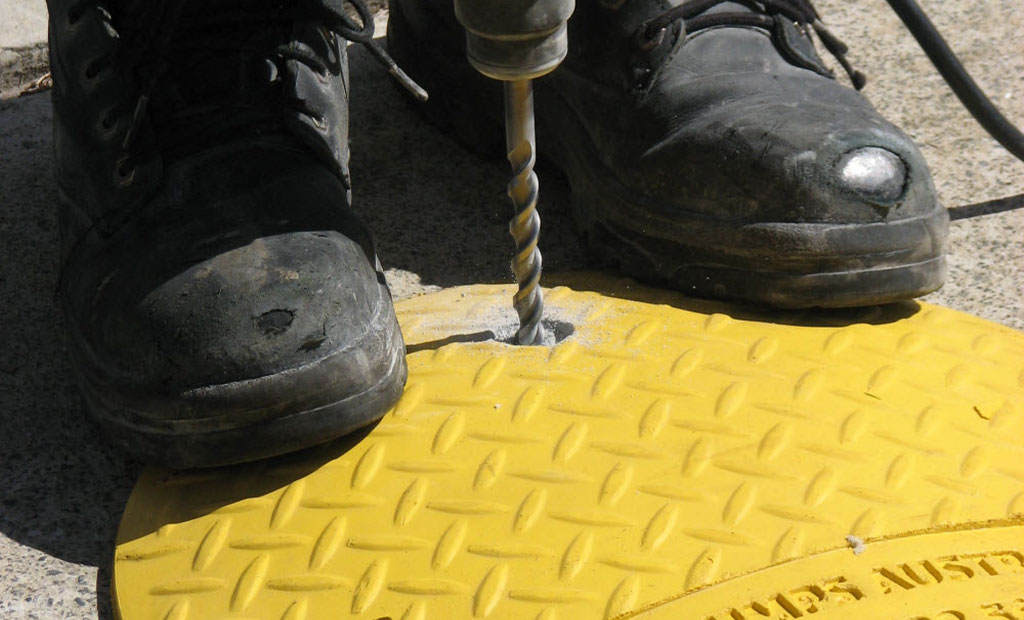
- Remove the loose sections and drill holes at each marked location using a high-speed hammer drill with a 19 mm masonry bit to a minimum depth of 75 mm below the surface.
- Clear the surface again after pre-drilling to remove unwanted particles.
- Now, insert anchors into holes with the help of a hammer until they are flush with the surface.
- Now, place the speed bump sections loosely with pre-drilled holes and realign them.
- Now, place the washer on top of the lag bolt and tighten the nut about 19 mm away with a 19 mm socket. Repeat the process for all holes.
- Finish tightening each bolt until they are just snug.
- Avoid over-tightening, or the bump may damage and void the product warranty.
Steel spike method: for gravel and asphalt
See below:
- Ensure the surface is clean from dirt.
- Loosely place the end caps and bump sections on the location area and mark the hole’s location with pre-drilled holes.
- Make sure the units are straight and square. Using a chalk line or straight edge will be beneficial.
- Remove the loose sections and drill holes at each marked location using a high-speed hammer drill with a 12.5 mm masonry bit to a minimum depth of 356 mm below concrete and 457 mm below gravel surfaces.
- Clear the surface again after pre-drilling to remove unwanted particles.
- Now, place the speed bump sections loosely with pre-drilled holes and realign them.
- Insert 12.5 mm dia spikes through the holes in the surface using a hammer. Keep hammering until the spike head is flushed with the bump surface.
- Recommended buttering spikes with epoxy resin to prevent asphalt from cracking.
Safety precautions during installation
Consider some considerations while installing rubber speed bumps; otherwise, it can result in serious injury.
The following are the safety measures during its installation:
- Ensure to wear safety goggles, safety boots, etc.
- While drilling, make sure there are no slippery hazards.
- While drilling, ensure the chuck guard is in a position that helps avoid a person’s close contact with hot spots.
- While using an impact wrench, make sure the socket is intact.
- Work with trimming the knife from the dominant hand; otherwise, it could result in injury.
- Wear a face shield while using a hammer or mallet to avoid chipped-off material contact with the eye. Always strike the hammer/mallet blow squarely parallel to the surface.
Conclusion
In total, rubber speed bumps are necessary for reducing the speed of vehicles on roads, parkways, cycle lanes, etc. They are more aggressive in limiting a motorist’s speed because they bring transport acceleration to a near stop.
The introduction of rubber speed bumps benefits road traffic safety and proves durable and cost-effective for a traffic engineer. They are made from heavy-duty tires, which are more durable and resistant.
They can be quickly installed, removed, or relocated anywhere from crossing signs, interchanges, road signs, etc. They have more reflectors, so they are more detectable at night, especially in the two-way driveway.
Unlike traditional speed bumps, they resist UV and chemicals and complement different types of roads. This proves that these speed bumps are more investment-worthy to calm traffic.
Otherwise, selecting different speed breakers for different road types would be very painstaking.
👇🏻
IF YOU ARE LOOKING TO WORK DIRECTLY WITH A MANUFACTURER,
FEEL FREE TO CONTACT US. WE ARE VERY HAPPY TO HELP!

